Szymon Maksymowicz
an enthusiastic developer and tinkerer.
-
Web Particle Physics Simulation

This is a simple particle simulation that runs on the CPU and is rendered with the help of WebGL on the GPU.
Click Here To give it a shot! -
Online snake dodging game

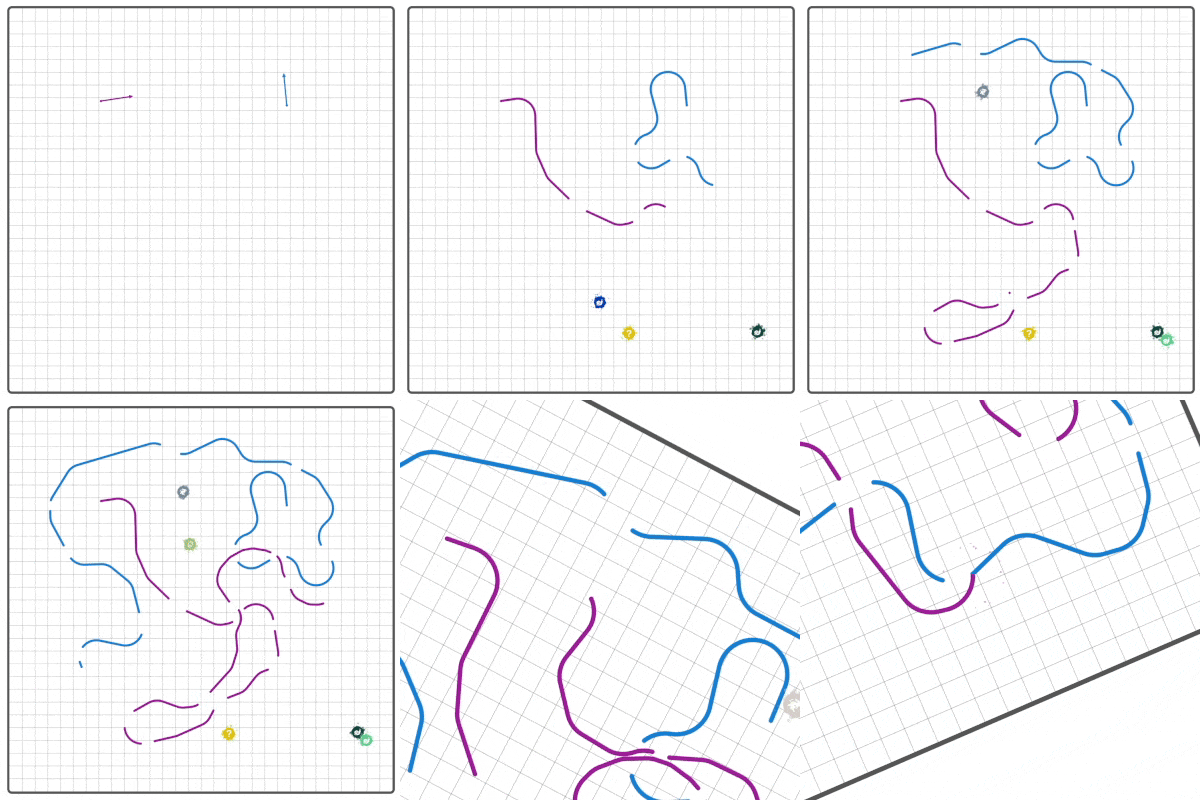
A real-time browser game utilizing WebSockets for live gameplay communication with a Node.js server.
Example of a 2 player game:
 Click Here To give it a shot!
-
Game Of Life

This is an interactive simulation of Conway's game of life written in python using pygame.
Source code, usage and demo videos of the project are avalible on the github readme below.
-
Space View Mobile App

This is an app that allows the user to view diffrent articles along with images about space fetched from a NASA API. It also has a 360 degree map that allows the user to see constellations at diffrent areas of the night sky and read about them.
Source code, usage and demo videos of the project are avalible on the github readme below.
-
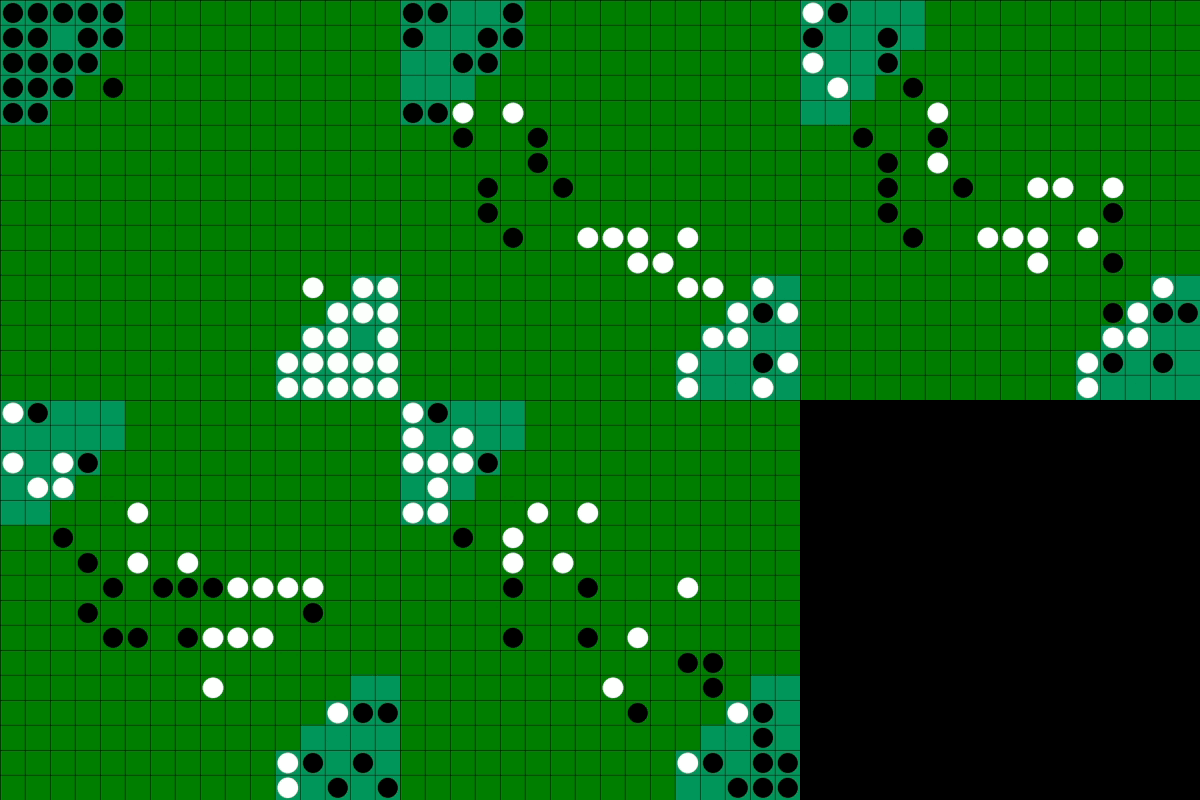
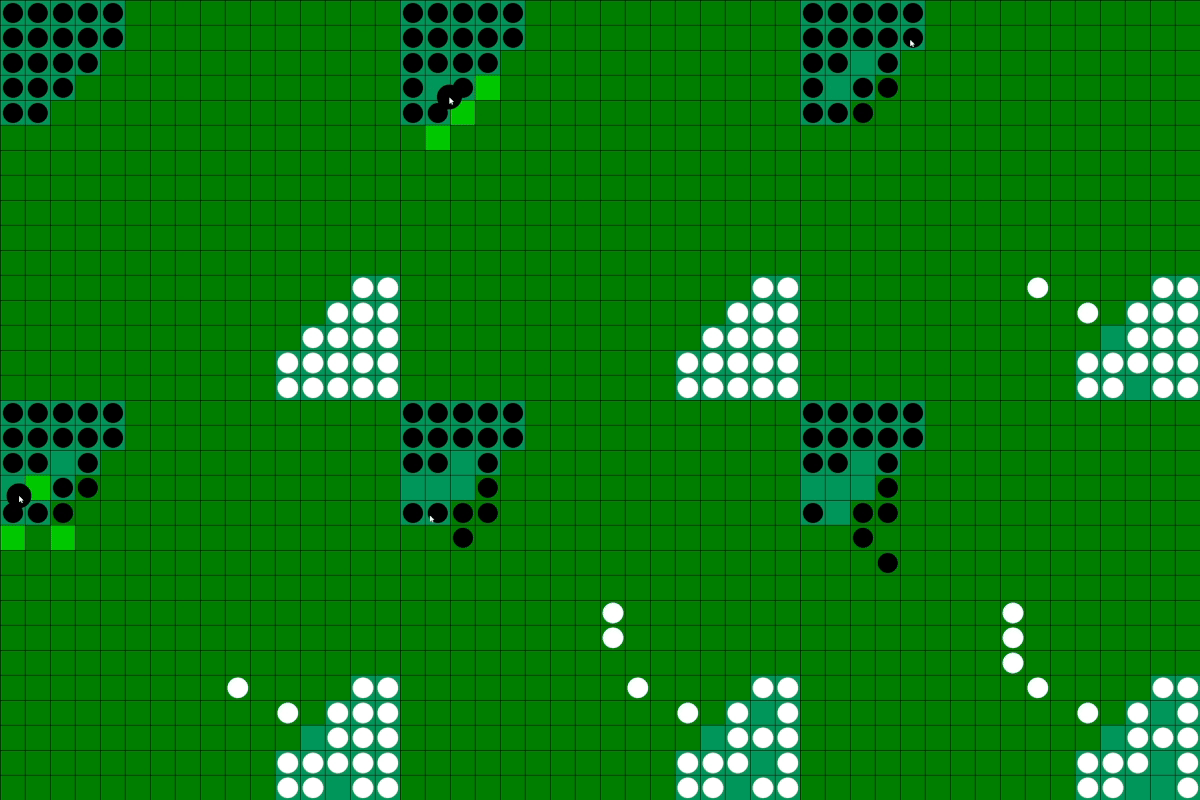
PyGame Halma AI

Possible Modes of Play:
- AI vs AI: In this mode, two AI players play against each other. The minimax and alpha-beta pruning algorithms are used to determine optimal moves for both sides. This mode is best for testing strategies and benchmarking.
- AI vs Human Player: Because the entire game visualization is written using the PyGame library, the user can directly pick up pieces using the mouse and play against the algorithms.
-
5-Axis robot arm
(WIP)
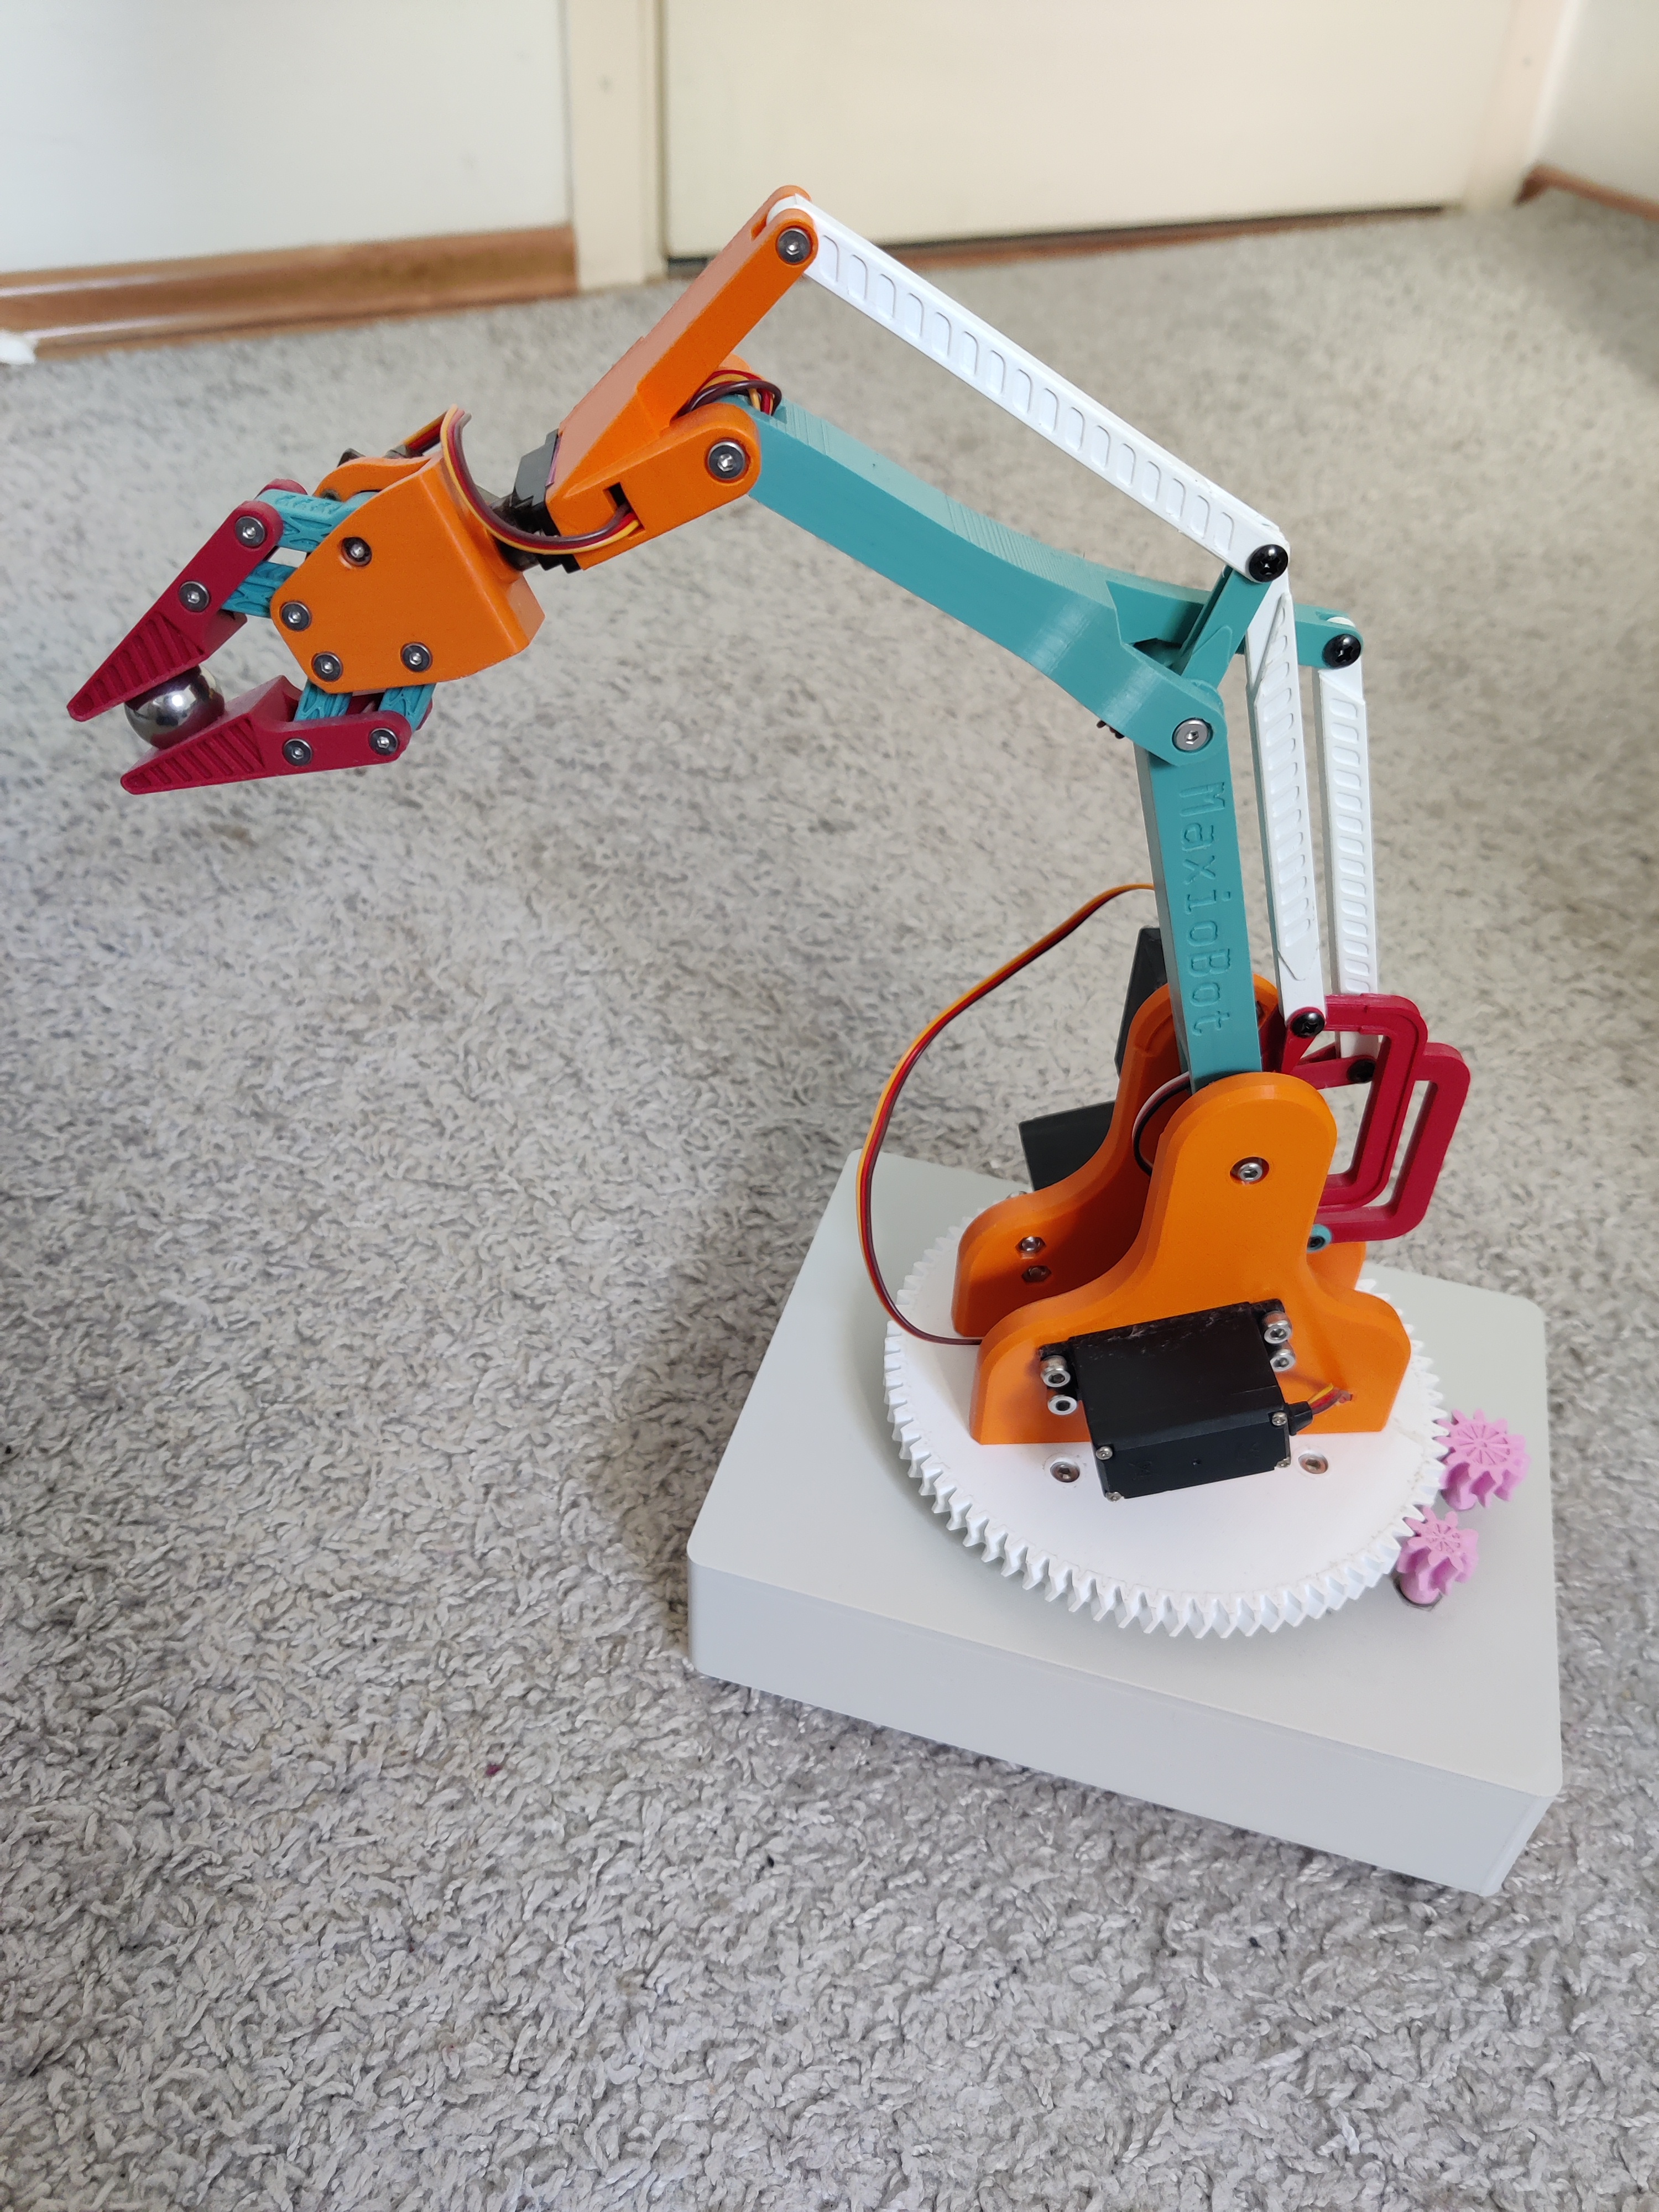
This was the hardest and most time consuming project I have done to date, but along the way I have learned a lot of useful things.
I first started by doing extensive research on small form factor robotic arms, and on design ideas, I quickly realized that with the size I was going for, it would not be possible to place the motors on the moving parts of the arm, as they would be too heavy and either the size of the arm would have to increase or I would have to but expensive motors.
This is why i opted for placing the motors for controlling the shoulder elbow and wrist joints in the base, as can be seen in the image. The next step was to get fammiliaraized with linkages and sketch out the basic movement idea, I did this using fusion360.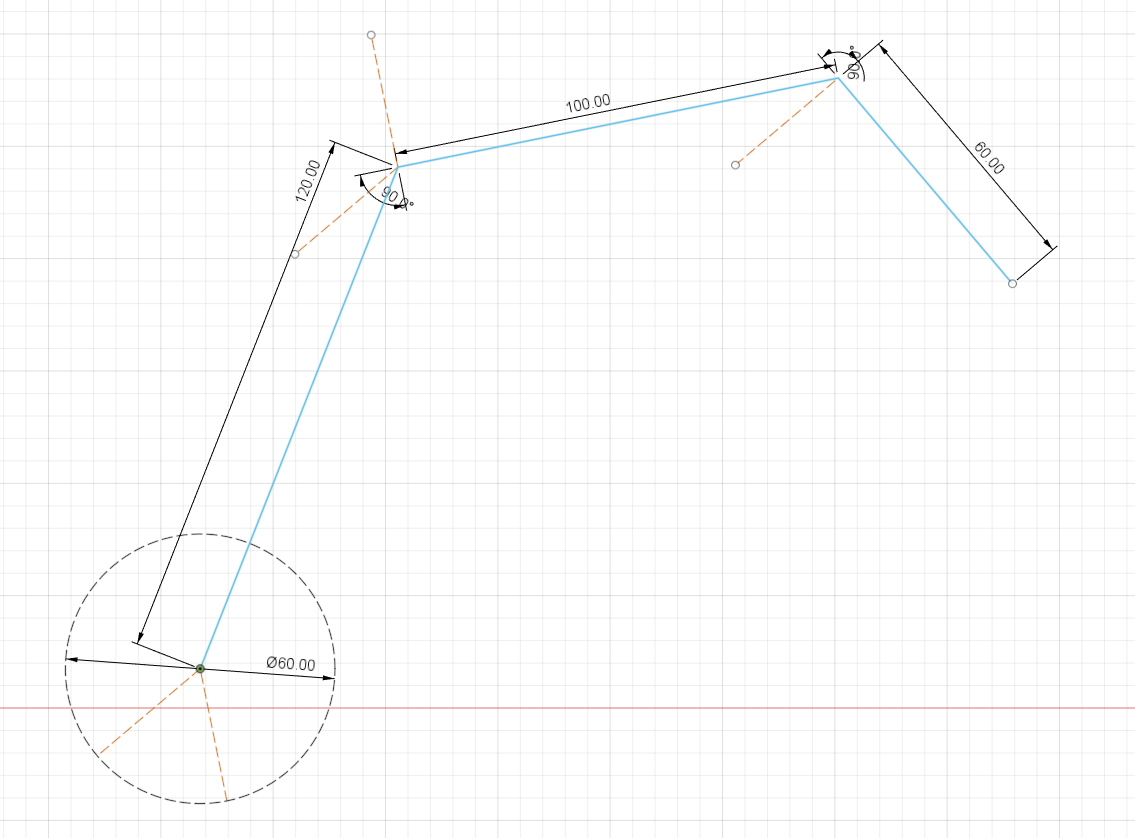
I then jumped right into designing the 3d assembly, where I started with the head assembly, as I thought that would be the hardest part. I already considered myself to be quite good at 3d modeling, but I have to say, that I learned a lot about correct project managment and maintainability, the latter beaing the most important.
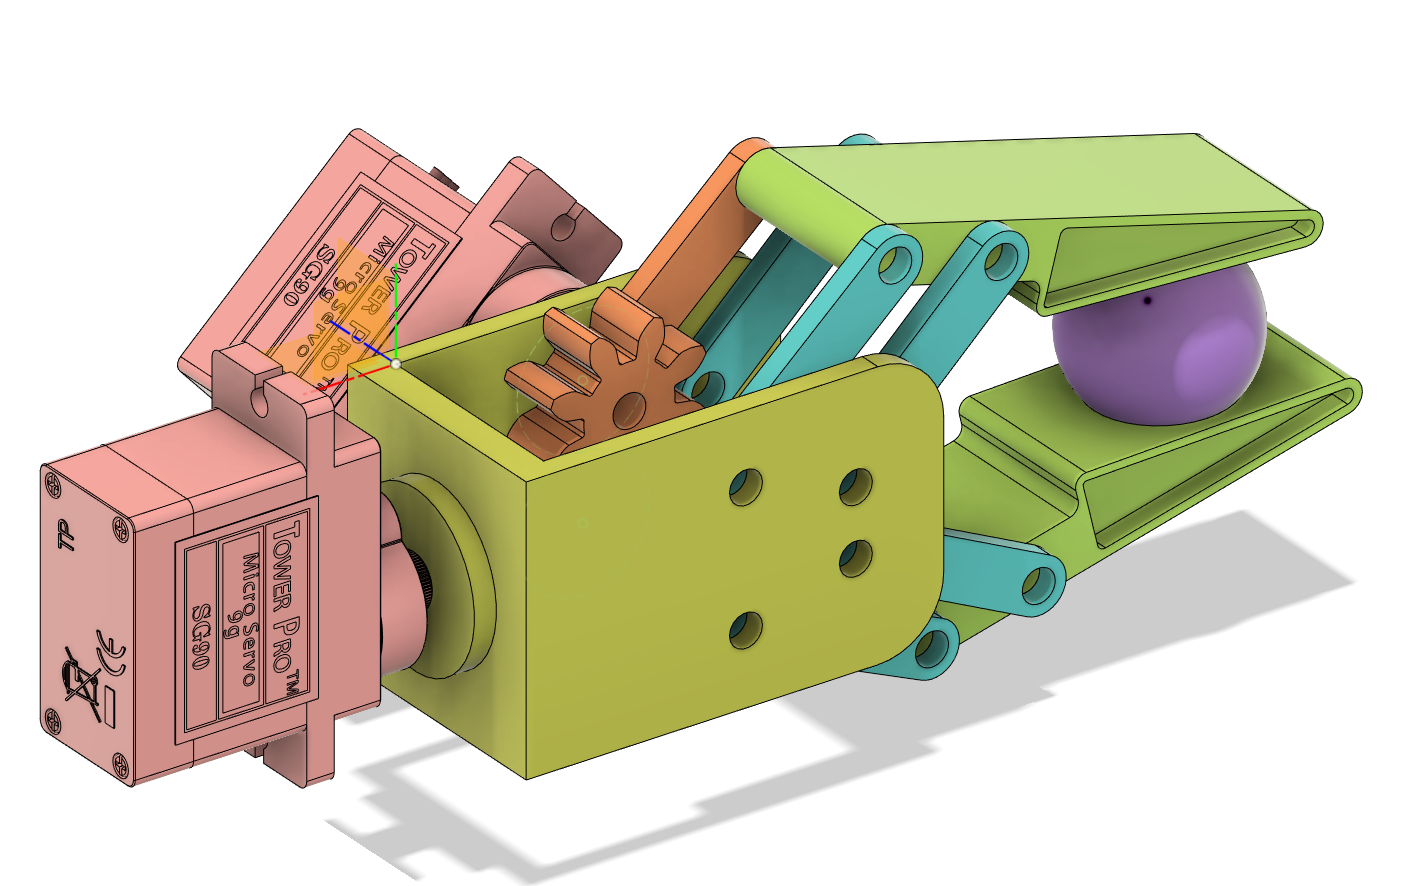
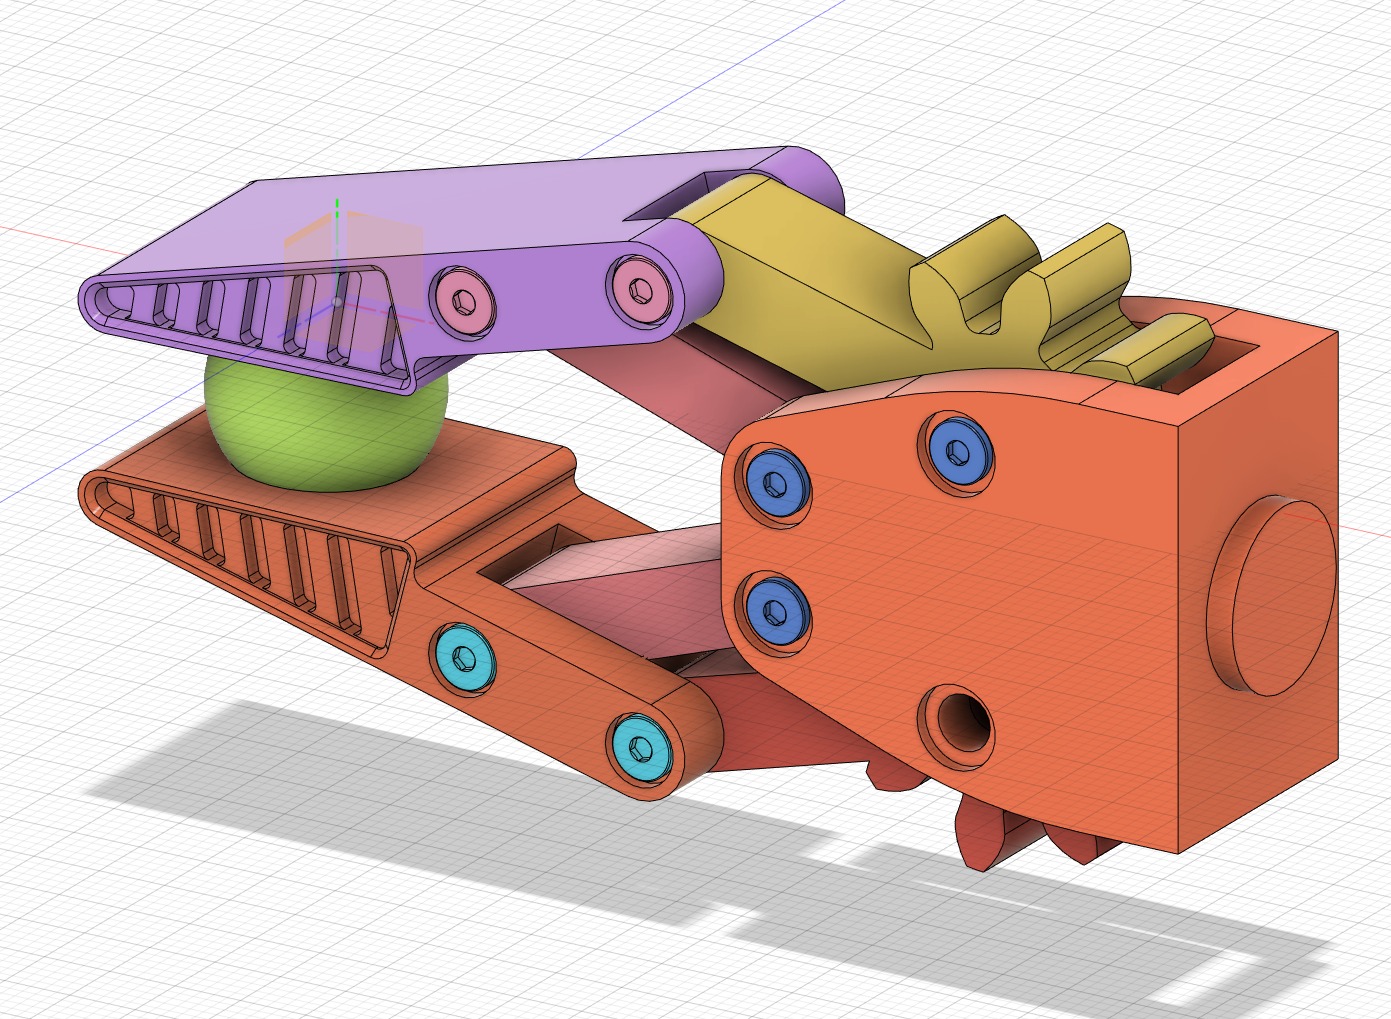
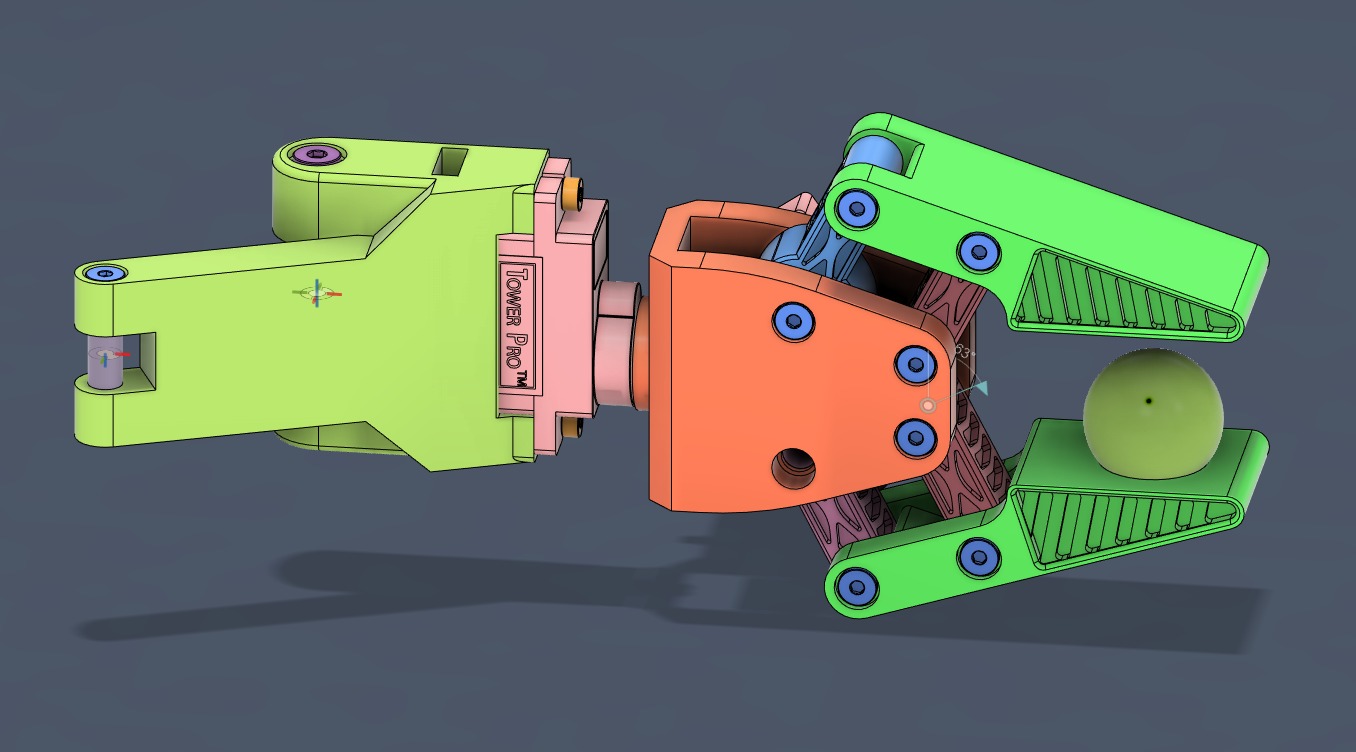
I then jumped right into designing the 3d assembly, where I started with the head assembly, as I thought that would be the hardest part. I already considered myself to be quite good at 3d modeling, but I have to say, that I learned a lot about correct project managment and maintainability, the latter beaing the most important.
The final version:
The next part I started working on was the arm assembly, with all of the linkages that take care of the motion, this was the part that changed the most during the design process as it was really important to make it have as wide of a range of motion as possible, this also allowed me to finalize the coupling to the head assembly.
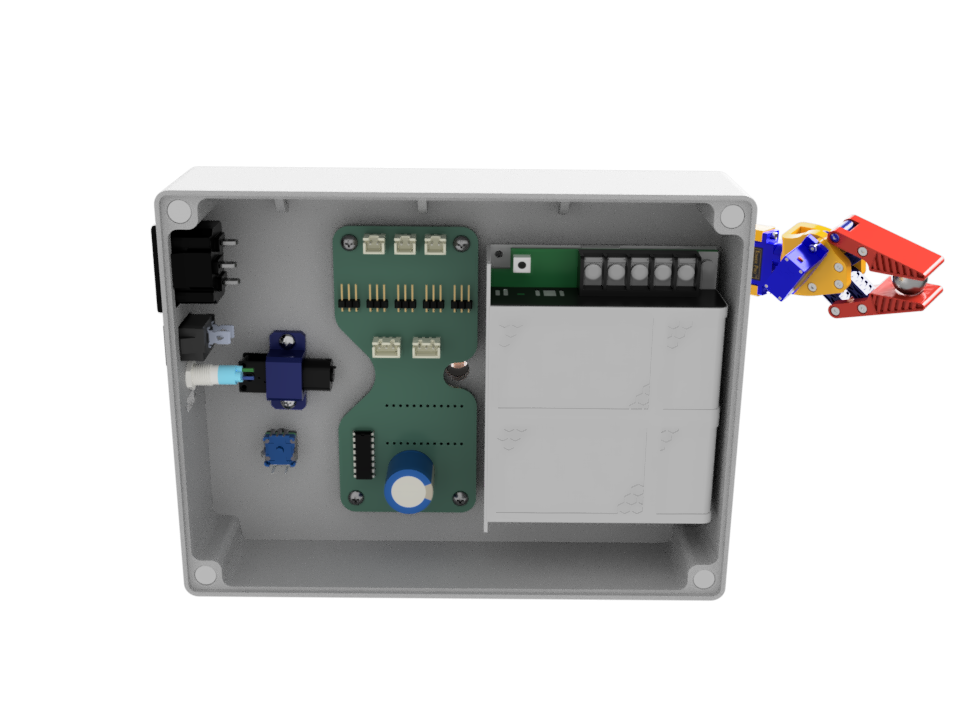
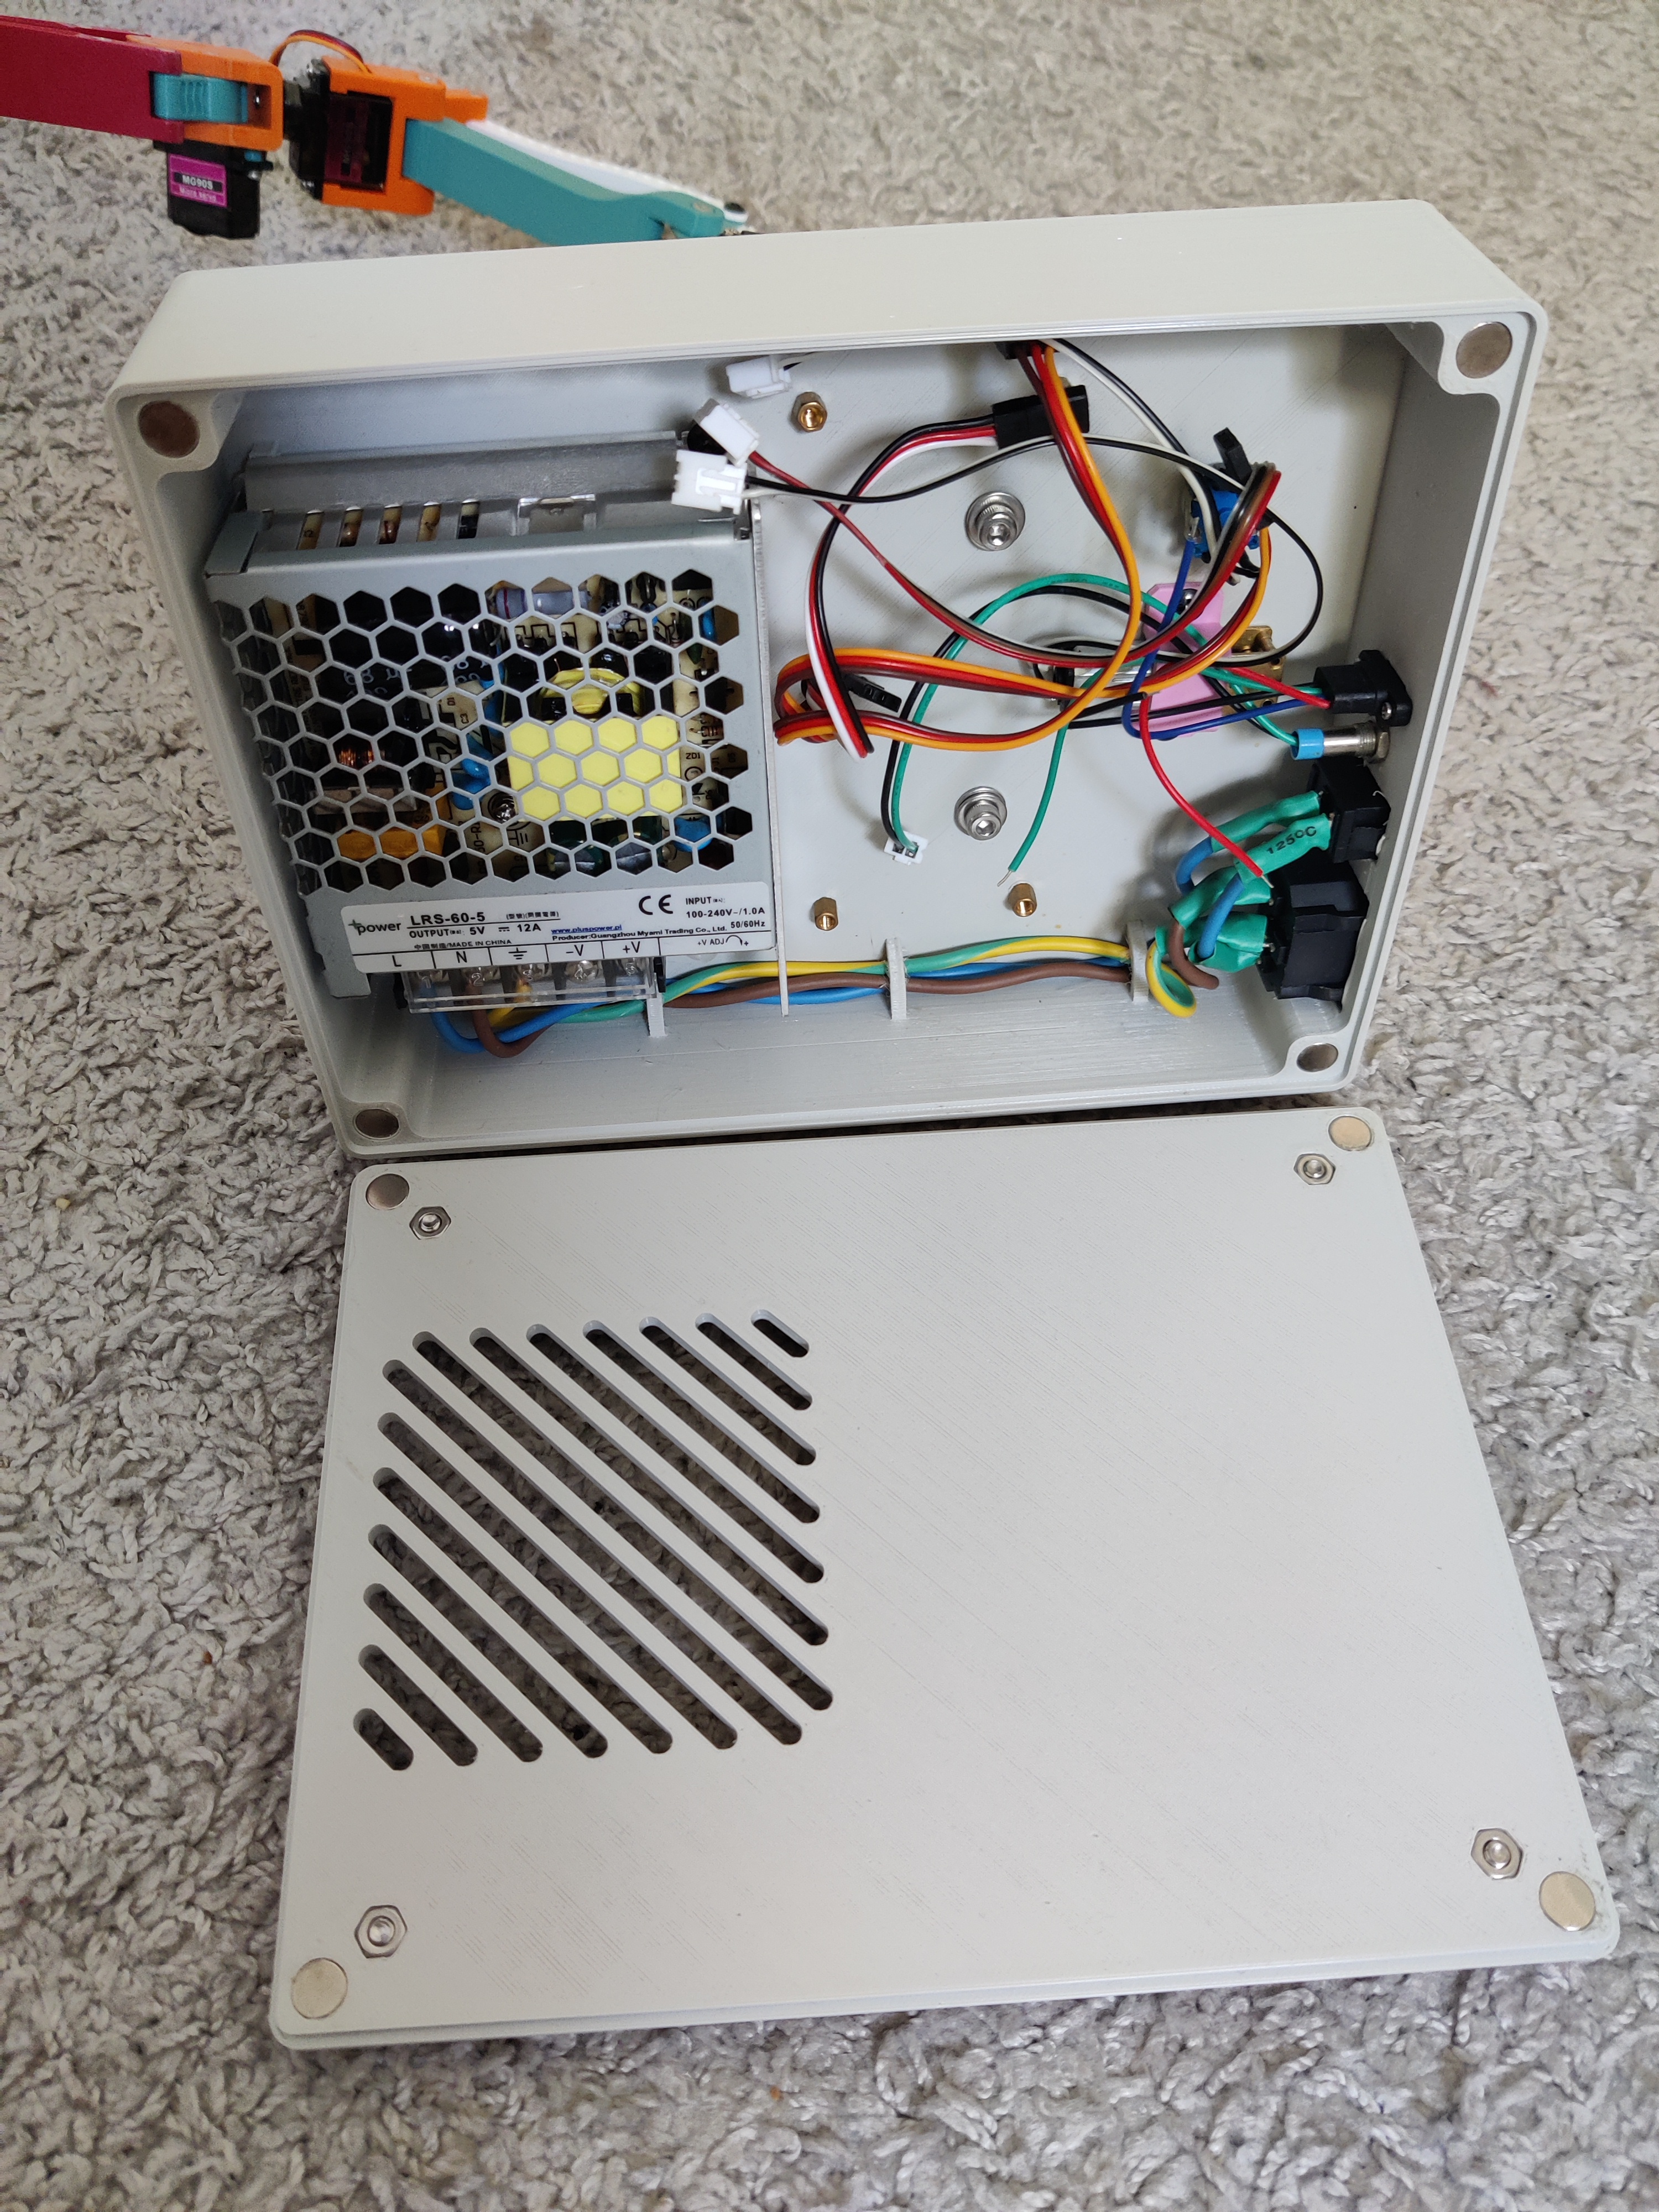
And last but not least the base assembly, which mainly consists of a big base to house all the electronics and the gears that drive the rotation of the whole upper body of the robot.
The whole CAD model (it is possible to rotate it here, by moving the mouse side to side on the picture)
Next was the PCB design, I made it unnecesailry difficult on myself by leaving just enough space for all of the connectors and electronics
For now this is all I've done, as I have run out of funds for this project, but once I can buy the PCBs I will update the progress here
There is still all of the programming to do, but I consider the CAD model as final
-
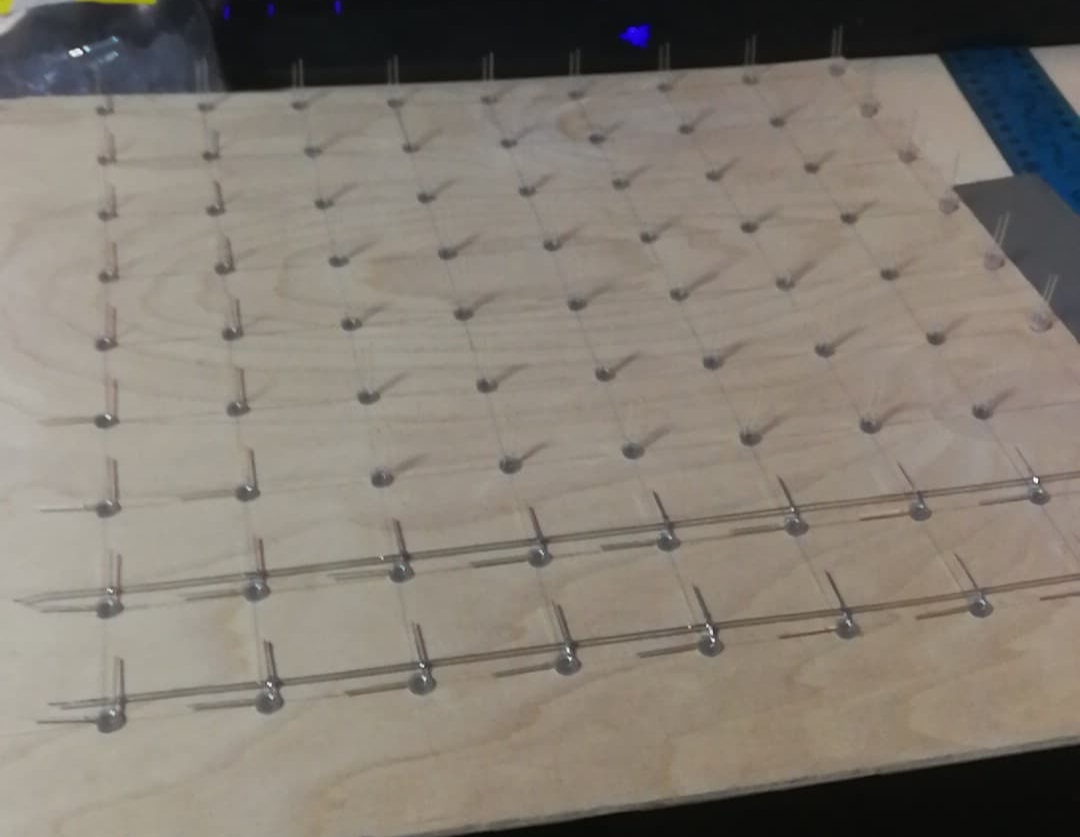
9x9x9 LED cube
(WIP)